
If you love quick, cosy makes that look far fancier than they actually are, this one is going to be right up your street.
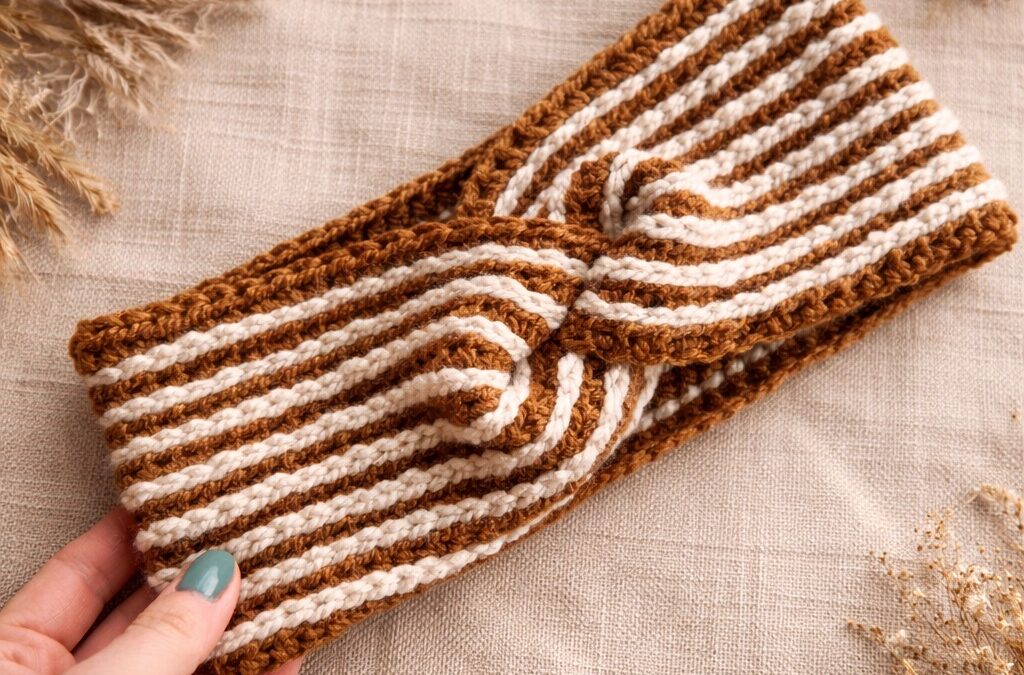
This two colour crochet headband is one of those projects that feels a bit magical the first time you make it. It’s worked in clever little layers that create a beautiful ridged texture, it’s lovely and warm to wear, and it’s completely adjustable so you can make it fit your head perfectly.
It’s also a brilliant stash-buster and one of my favourite easy crochet ideas for gifting. Once you’ve made one… you’ll probably make three more.
You will need:
- Two colours of any yarn
- The correct sized crochet hook
- Stitch marker
- Darning needle
- Scissors
Crochet Terms (UK)
- ch – chain
- htr – half treble
- ss – slip stitch
Let’s get crocheting!
Row 1
With colour one, start with a slip knot and ch a length that fits comfortably around your head without stretching.
For me, this was 65 chains.
Now ch an extra 5 (I chained 70 in total).
Put 1 htr into the 3rd ch from the hook, then continue with 1 htr in each chain all the way along.
Top tip: pop a stitch marker into the top of your final stitch. You’ll be very glad you did!
Row 2
*Join colour two with ch 1 and turn.
Cut colour one.
Slip stitch all the way along the row.
When you complete your final slip stitch, pull colour one back through with you rather than colour two.
Cut colour two.
Ch 2 and turn.
Now put 1 htr in each stitch all the way along, making sure you work into the loops that are colour one, not colour two.
When you reach the end, your final stitch may look a little hidden – but this is where your stitch marker saves the day. Move your marker into your new final stitch.
Repeat
Repeat from * until your headband is the thickness you’d like.
Mine measured 11cm, but you can make yours thinner or thicker depending on how cosy you want it to be.
Once you’re happy, cut and fasten off, and sew in all your loose ends (there will be a few!).
You may notice the ends look slightly slanted – this is totally fine and will disappear once it’s sewn together.
Sewing your crochet headband together
Fold your headband in half so the outside is on the inside.
Bring the two ends together and slot them into each other like two open mouths.
Sew all four layers together securely.
Sew in any remaining loose ends, then turn your headband right side out for the big reveal!
This headband is soft, stretchy, beautifully textured and such a satisfying make; perfect for chilly walks, handmade gifts, or just a cosy bit of crochet for you.
Want a printable version for your crochet headband?
If you’d like a tidy PDF version of this Two Colour Crochet Headband pattern with videos (perfect for printing or keeping in your crochet folder), click HERE to grab it.