
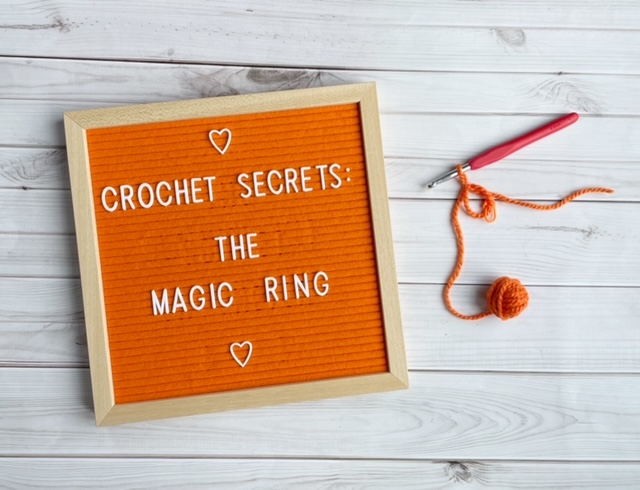
It’s time for me to reveal another one of my crochet secrets, and this time it’s how to crochet a magic ring!
I get asked how to crochet a magic ring a lot in my crochet workshops; it seems to be one of those tricky things that frustrate many of you out there. And I quite agree with you – they can be a real pain in the backside! I must admit, I don’t use them a great deal in my patterns, kits and workshops (more on that another time) but I know that lots of you are determined to get this technique correct so I’m here to help.
Here’s a short video that I made showing how I go about crocheting a magic ring with my special friend – the stitch marker. If you want to have a practise while you watch, you’ll need some yarn (I suggest some chunky), a 5mm hook and a stitch marker. Ready? Let’s go!
So why start with a magic ring I hear you ask. The benefit of starting a project with a magic ring is that you can close the centre up very tightly at the end which is great if you’re making a soft toy or something 3D. This means there is less chance of the stuffing falling out when your item is assembled. Many smaller crocheted makes like flowers and stars can be started off this way too, but equally there are ways around this if the magic ring is not for you. With that in mind, I’m off to write my next blog post which is all about alternatives to using a magic ring!
For more help with learning to crochet, click HERE to see my Learn to Crochet Kit. There are also some more FREE videos on my Facebook and Instagram pages.