
If you’re looking for an easy crochet bunting pattern that’s bright, cheerful and perfect for using up leftover yarn, you’re in the right place!
This crochet flower bunting combines simple crochet triangles with pretty little flowers to create a colourful decoration that’s perfect for spring, summer, nurseries, craft rooms, garden rooms or anywhere that could do with a splash of handmade happiness.
The best bit? It’s a fantastic stash-busting project. Those odd balls of yarn you’ve been saving ‘just in case’ can finally have their moment to shine.
If you’ve never made bunting before, don’t worry. This pattern includes step-by-step instructions, plenty of photos and video tutorials to guide you through the process. The triangles are worked one at a time before being joined together to create your finished crochet bunting.
It doesn’t matter if you’re looking to learn how to crochet bunting for beginners, how to crochet bunting triangles step-by-step, or how to join crochet bunting together, this free crochet pattern will walk you through the whole process.
For the crochet flower bunting, you’ll need:
- DK yarn in your chosen colours
- A suitable crochet hook
- Yarn needle
- Scissors
You can make your bunting as long or as short as you like by simply adding more triangles.
How to crochet flower bunting
Start with a slip knot and ch 2. Put 2 dc in the 2nd chain from hook.
Ch 1, turn. Put 2 dc in 1st stitch, and 1 dc in the next (you will now have 3 stitches in total).
Ch 1, turn. Put 2 dc in the 1st stitch, 1 dc in the next, 1 dc in the next (you will now have 4 stitches in total).
*Ch 1, turn, put 2 dc in the 1st stitch, and put 1 dc in the rest of the stitches along the row.
Repeat from * to end until you have 40 stitches in total along the row.
Cut and fasten off. Sew in your loose ends.
Make more triangles! I blocked my triangles to stop the edges curling up. Click HERE for a guide to blocking your crochet.
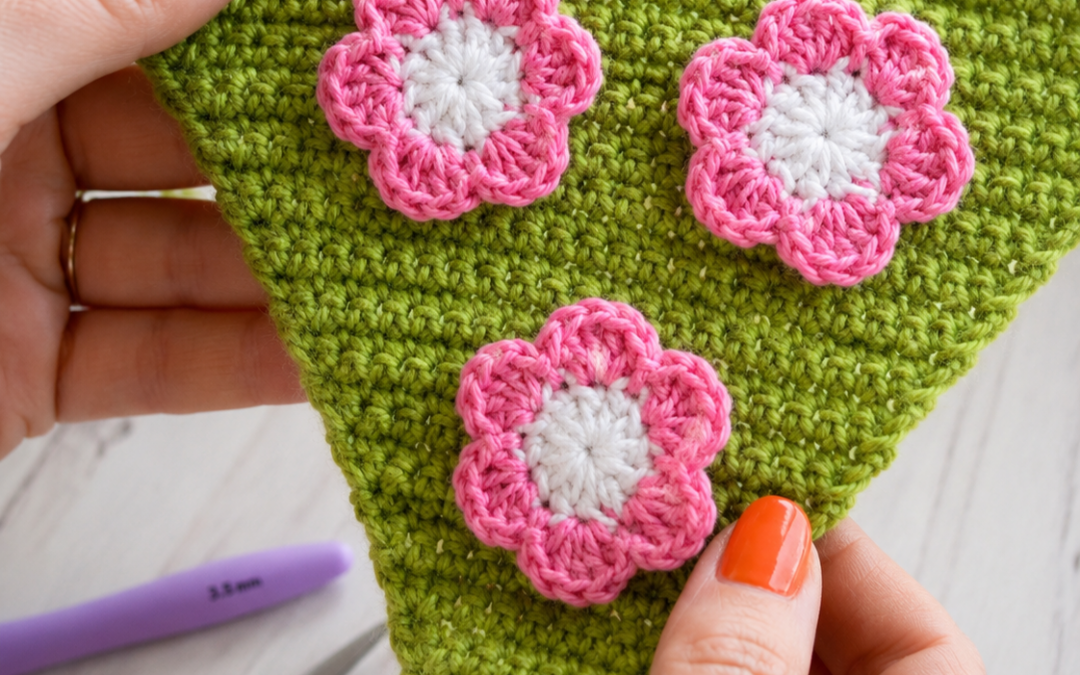
For the flowers:
Start with a slip knot and chain 5. Look for the furthest chain from the hook and do a sl st to join your 2 ends together to make a circle.
Chain 2, pop a stitch marker in chain just under the hook, and do 11 tr into the circle.
Join the circle together with a sl st into the stitch after where your stitch marker is, and change colour at the same time.
Ch 2, and do 4 tr into the same stitch. Put a sl st in the next stitch.
*Do 5 tr in the next stitch and sl st in the next stitch*
Repeat until you have 6 petals.
Finish off by doing a sl st into the last stitch. You now have a crocheted flower!
Make more flowers and sew / glue them onto the bunting triangles.
How to join crochet bunting together
Start with a slip knot and ch 10. Sl st into the furthest ch from your hook to make a circle; you can use this circle (hoop) to hang your bunting onto a hook or a nail in the wall.
Sl st into the first stitch of one of the corners of your bunting triangles.
Continue to sl st all the way along the top of one of your triangles. When you get to end of one of the triangles, continue to sl st along the next triangle….until you have added all the triangles.
When all the triangles are added, chain an extra 10. Join to the furthest ch from your hook with a sl st (to make the other hanging hoop). Cut and fasten off. Sew in your loose ends.
I hope you’ve enjoyed making your crochet flower bunting as much as I enjoyed designing it!
One of my favourite things about this pattern is how easy it is to personalise. You can change the colours to match your home, make a shorter length for a shelf or mirror, or keep going and create enough bunting to decorate a whole room.
If you’d prefer a printable version of the pattern, complete with all the photos and direct links to the video tutorials, you can download the PDF version here.